Note!
RoomMaster files are written to this location: C:\ProgramData\Idealpos Solutions\Idealpos
You will need to enter the information that relates to the RoomMaster setup.
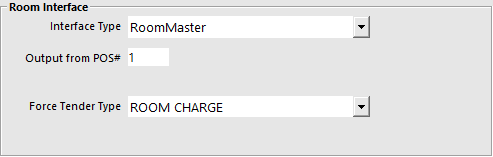
To enable the Room Interface to work on each terminal go to Setup > Global Options > Interfaces > Room Interface.
Interface Type – This is the software that you will be connecting to. Select RoomMaster.
Output from POS# – This is the POS Number that creates the Output from POS File.
Force Tender Type – This feature is to force all customers who want to charge to their room using the RoomMaster interface to use a single tender so other tender types cannot be charged to the room.
Note!
This Room Interface requires a POS Master to be entered into the "Output from POS#" field.
Ensure that you enter a POS Terminal number that exists in the same site so that the data is correctly exported to your Room Interface.
Should you enter a POS Terminal Number that does not exist in the same site, the following warning prompt will be displayed each time a terminal starts Idealpos:
WARNING! You have your Room Interface POS Master set to a POS in a different site!
RoomMaster uses Customer Accounts as Rooms to record the chargeback facility.
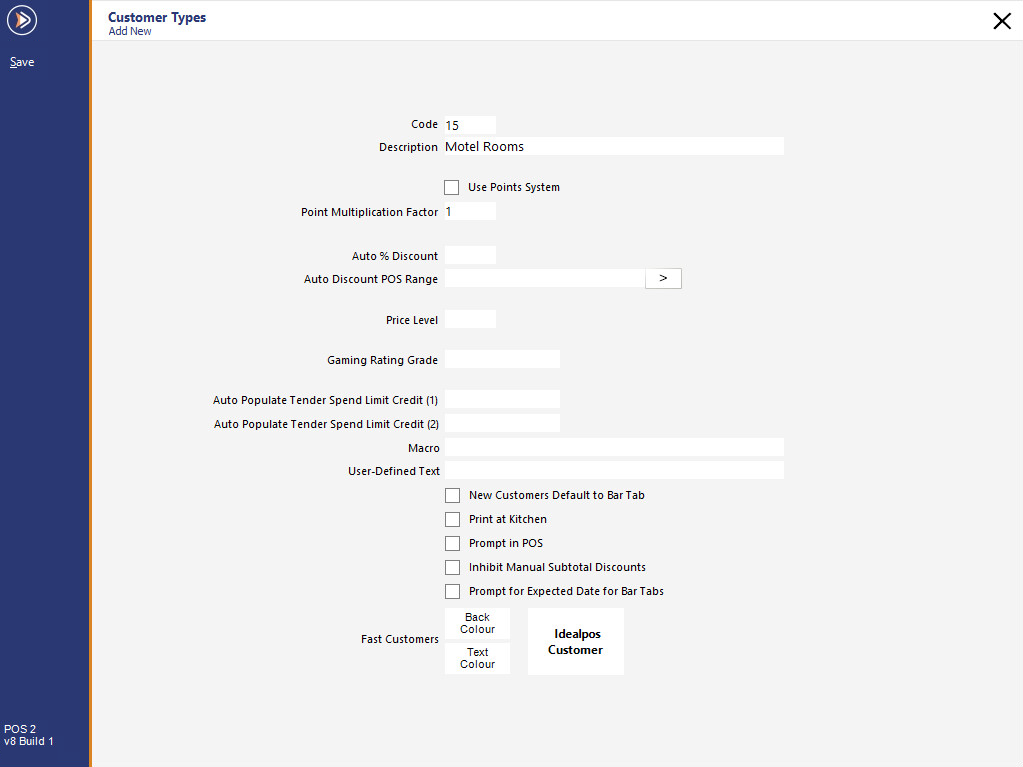
Go to File > Customers > Customer Types.
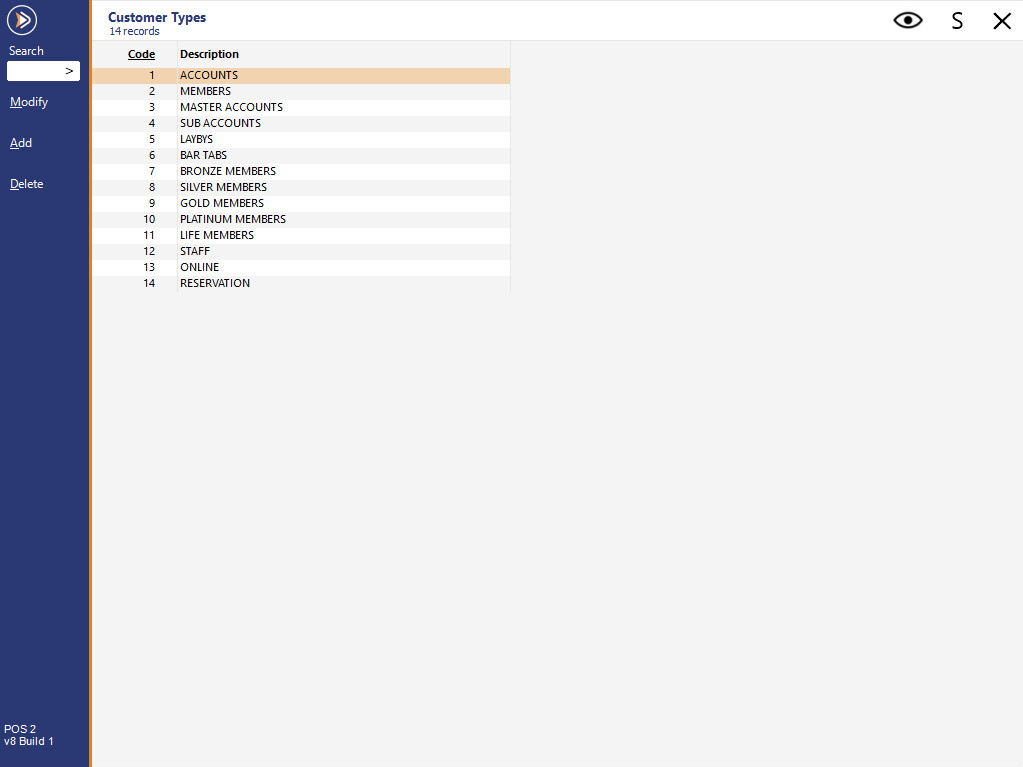
Press Add to create a new Customer Type and press Save.
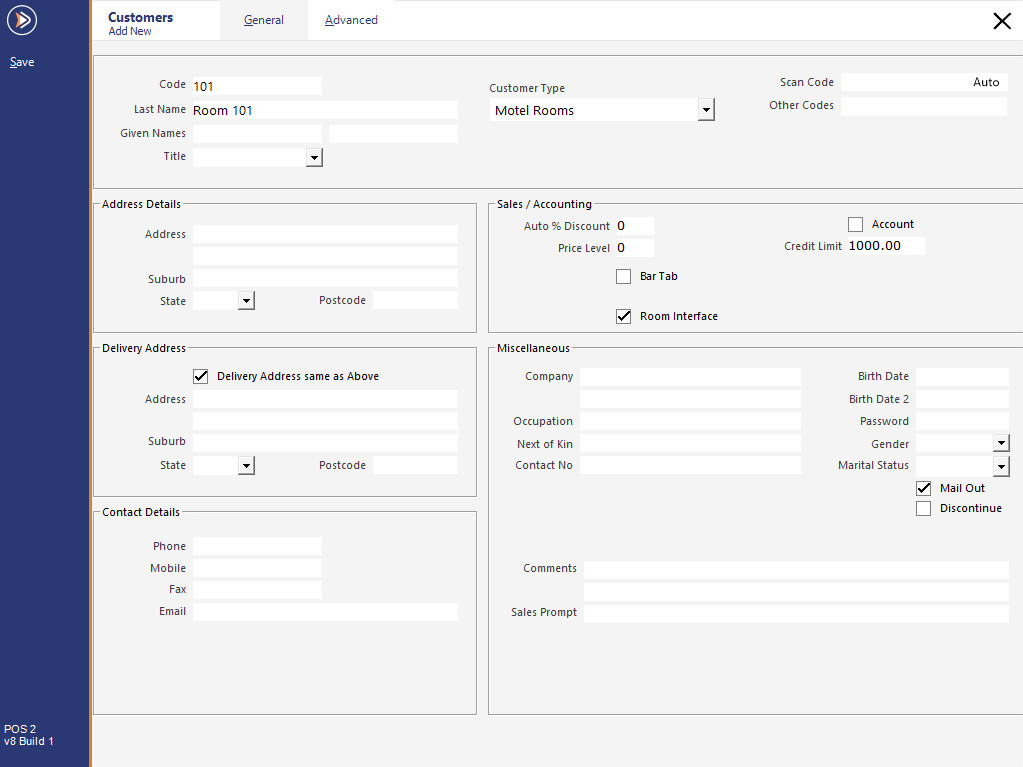
Go to File > Customers > Customers > Create a customer for each room > Ensure that Room Interface is selected for each Customer.
Note!
The Customer Code, not the Customer Name, is written to the output file that will be read by RoomMaster.
Therefore, please ensure that the Code matches the number of the Room.
Go to Setup > POS Screen > POS Screen Setup > Layouts > Buttons > Create a Customer button that links to the Customer Type you created for Hotel Rooms.
